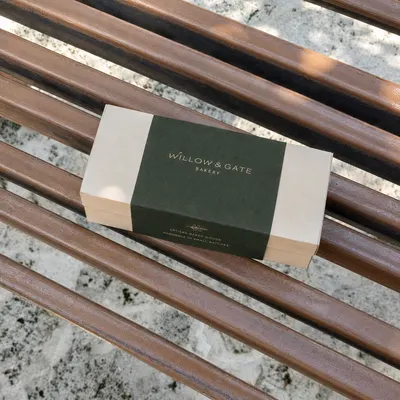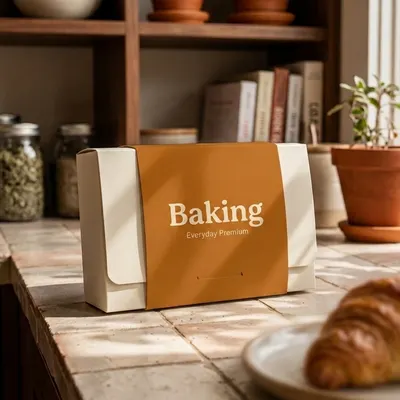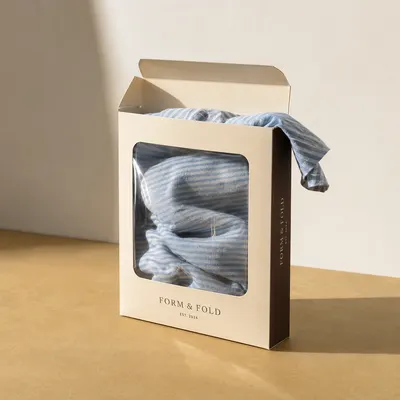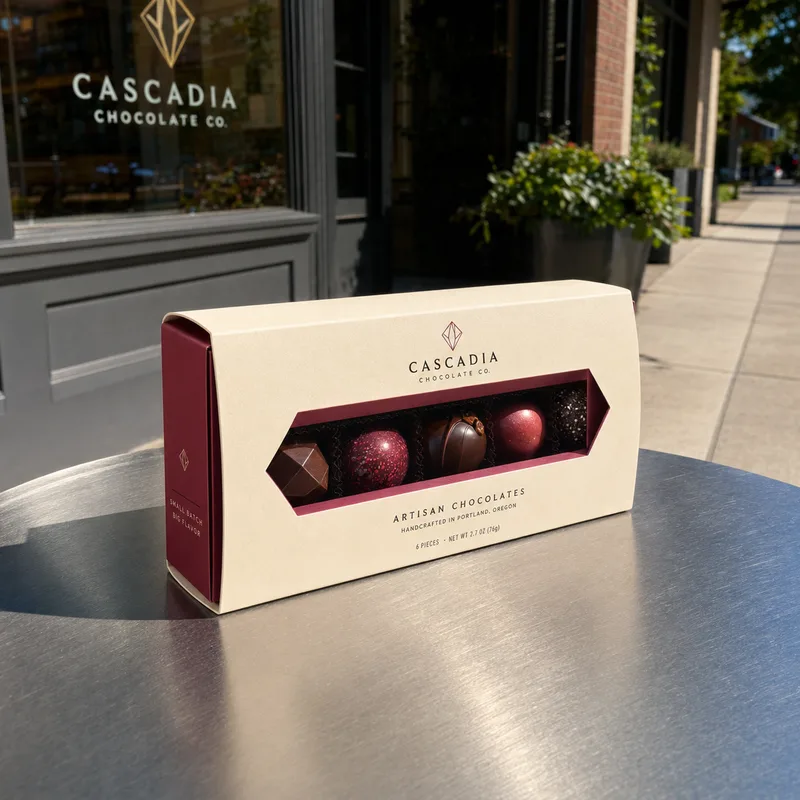
Overview & Specifications
What Are Die-Cut Window Sleeves?
A die-cut window sleeve is a Box Sleeve with an aperture. The window is a feature on the sleeve, not a separate structure, and it frames what is underneath: a printed box, a product or a color.
Die-Cut Window Sleeves sit in the Custom Sleeves range and under Retail Packaging.
What it has to do
What a Sleeve Window Has to Get Right
A sleeve window has to frame the right part of what is underneath, keep the sleeve stiff, use the right covering and leave enough print area. Each need below is matched to the option that meets it.
01
Frame
Frame What Is Underneath
The window lines up with the product, color or artwork on the box below.02
Keep
Keep the Sleeve Stiff
Large cutouts reduce stiffness. Size and position are set on the dieline and checked on a sample.03
Open
Open or Covered
An open die-cut lets buyers touch the box below; clear PET film closes the window.04
Leave
Leave Print Area
A larger window shows more but leaves less room for brand copy.
Open vs Film-Covered Sleeve Windows
Choose an open window when the box below is closed and can be touched, and a clear PET window when the opening should stay covered. The table compares the two.
| Attribute | Open Die-Cut | Clear PET Window |
|---|---|---|
| Opening | Open | Covered |
| Shows | Box surface or product | Box surface or product |
| Touch | Reachable | Covered |
| Best for | Printed boxes underneath | Products or open trays underneath |
Die-Cut Window Sleeves Specifications
Die-Cut Window Sleeves are specified around the package, the board and the sleeve format. Review the specifications below to plan the sleeve.
| Specification | Available Configuration |
|---|---|
| Product Type | Box sleeve with die-cut viewing window |
| Category | Custom Sleeves |
| Structure | Full sleeve (Box Sleeve) with a die-cut window |
| Dimensions | Based on the finished package dimensions |
| Board | White SBS, kraft or recycled paperboard; E/F-flute corrugated; metallic, holographic, pearlescent or textured cardstock. Paperboard from about 14 pt to 28 pt |
| Add-ons | Window open or with clear PET film; shape, size and placement by project; tear strip, tongue lock |
| Strength | Large cutouts reduce sleeve stiffness; considered on the dieline |
| Print Coverage | Exterior only, or exterior and interior |
| Print Methods | Offset, digital, UV or screen printing; CMYK and Pantone spot colors |
| Coatings and Finishes | Matte, gloss or soft-touch lamination, aqueous coating, foil stamping, emboss/deboss, Spot UV and raised 3D UV |
| Starting Price | From $0.45 / unit; final price depends on size, board, print, finishes and quantity |
| Minimum Order | 500 units |
| Standard Production | 7 days from approved proof |
| Rush Production | Available on request |
| Shipping | Ships flat, USA and worldwide |
How Do You Size the Sleeve and Place the Window?
Size the sleeve to the finished package first, then place the window over what should show. Window size and position are set on the approved dieline.
| Measurement | What to Record |
|---|---|
| Package | Outside size |
| View | What should show |
| Window | Shape and approximate size |
| Covering | Open or clear PET |
Check the Window on a Sample
Slide a sample over the package and check that the window frames the right area and the sleeve stays stiff.
What to Check Before Bulk Production
Review a sample on the package, printed with the final artwork. Record the approved window size, position and covering on the signed-off sample.
| If the sample shows | Review before approval |
|---|---|
| Window misses the product | Move the window |
| Sleeve bows at the window | Review window size and board on a sample |
| Film wrinkles | Review film fit on the die-cut |
| Brand copy crowded | Reduce the window |
Seven days covers standard production from approved proof once the specification is confirmed; delivery timing is confirmed separately.